
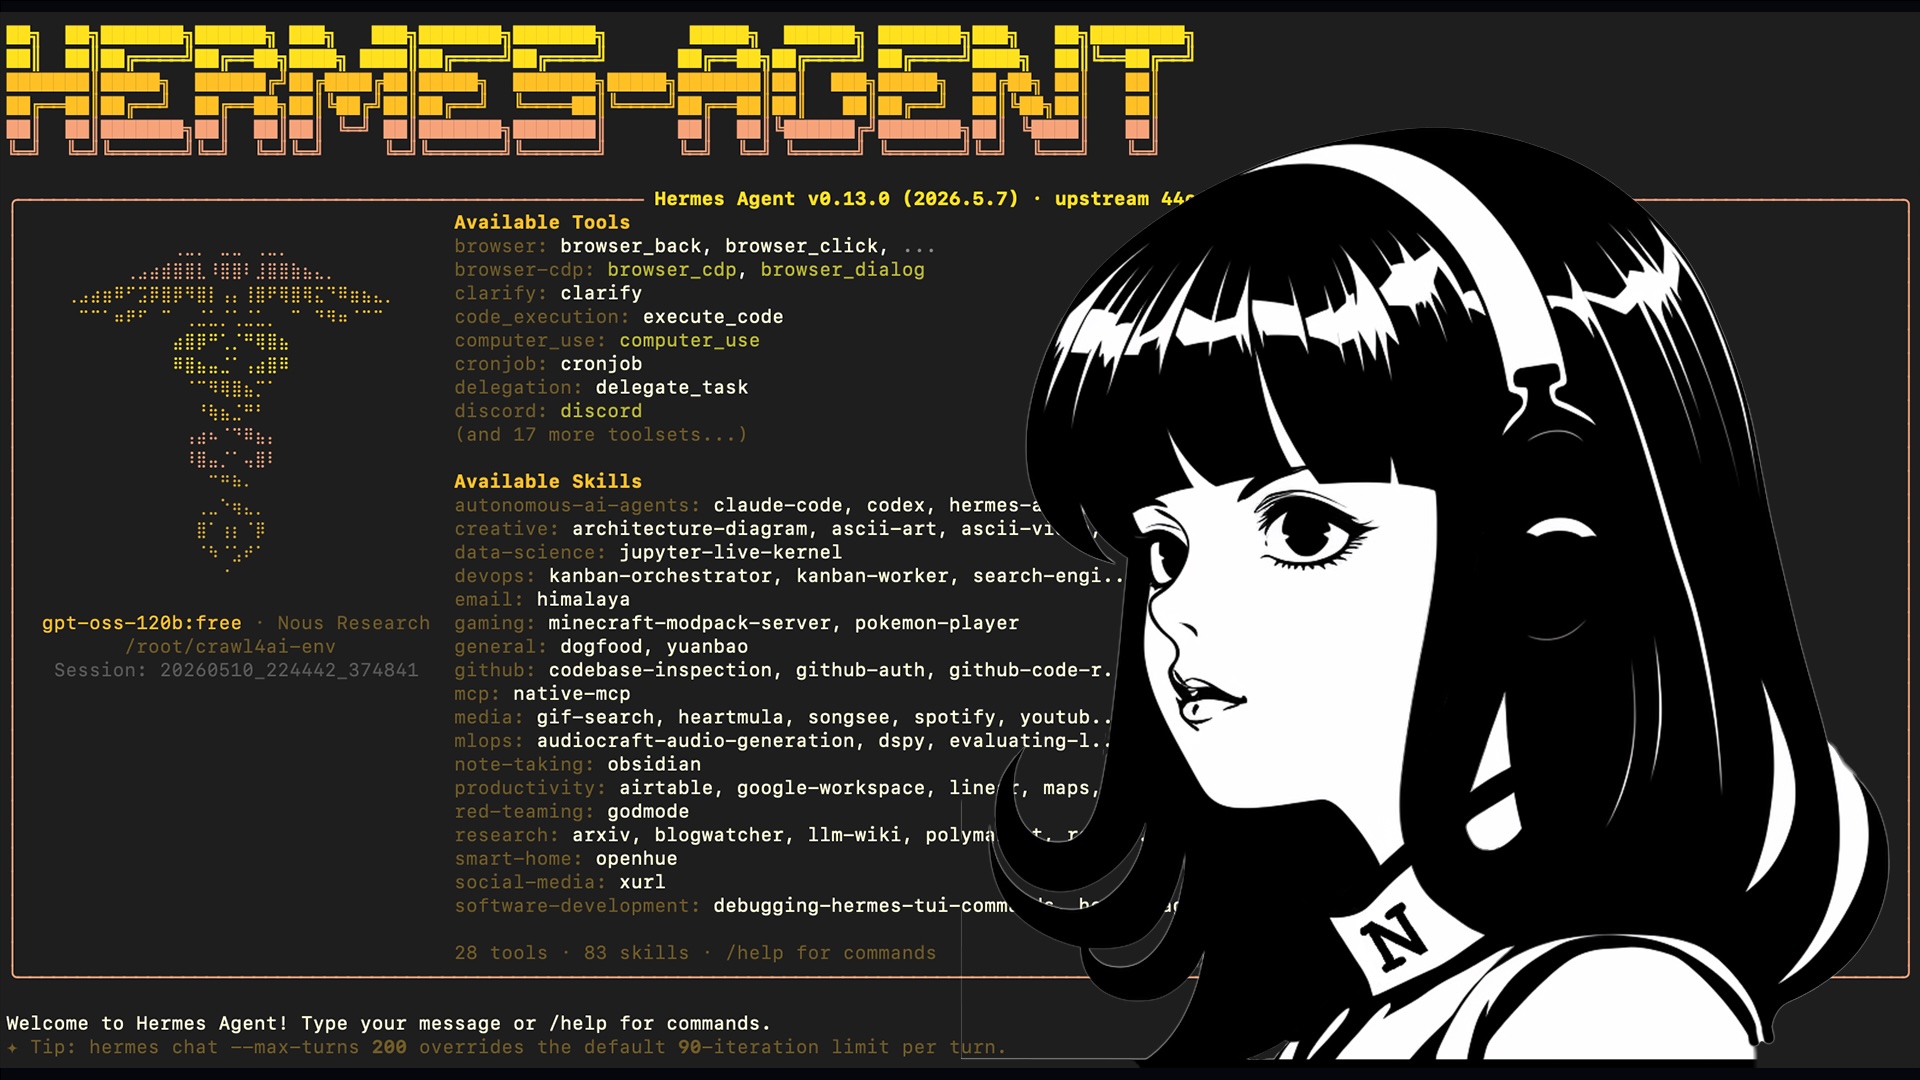
If you’re hesitant to install the Hermes Agent directly on your everyday Mac, we recommend testing it in a macOS VM created with Lume. Since AI agents involve terminal and file operations, being able to verify their behavior in an isolated environment first makes testing and troubleshooting much easier.
Install Lume on your Mac, launch a macOS VM, and install the Hermes Agent within that VM. After installation, a `~/.hermes/` directory will be created in the VM user’s home directory, and the agent will be ready to run via the `hermes` command.
We’ll use OpenRouter as an example for the LLM provider, but you can choose a provider that suits your needs and budget, such as OpenAI, Anthropic, Google, or Ollama.
- The Roles of Lume and the Hermes Agent
- Overall Process
- Prerequisites
- Installing Lume
- Creating and Starting a macOS VM
- Verifying the environment within the VM
- Installing Hermes Agent
- Updating the PATH
- Initial Setup
- Post-Installation Verification
- Location of Configuration Files
- Commonly Used Commands
- Troubleshooting
- Criteria for using Lume VMs
- FAQ
- Summary
The Roles of Lume and the Hermes Agent
The Role of Lume
Lume is a CLI for creating, launching, and managing macOS and Linux VMs on Apple Silicon Macs. Its key feature is the ability to manage macOS VMs from the command line using Apple’s Virtualization Framework. Rather than thinking of it as a GUI app for creating virtual machines, it’s easier to understand as a tool for setting up development and testing environments via commands.
When testing AI agents like Hermes Agent, a Lume VM serves as a sandbox for verification. It allows you to complete installation, configuration, and removal entirely within the VM, without touching the host Mac’s home directory or your usual settings.
The Role of Hermes Agent
Hermes Agent is an open-source AI agent released by Nous Research. It can be used as a personal task agent by combining not only conversation but also terminal operations, file operations, skills, memory management, and scheduled tasks.
The key difference from standard chat AI is that it has an execution environment. Since it involves executing commands, reading and writing files, and maintaining project context, it’s safest to try it out on a dedicated VM at first.
Overall Process
The process is divided between the host Mac and the Lume VM. Install Lume and start the VM on the host Mac, then install Hermes Agent via the terminal inside the VM.
- Install Lume on the host Mac
- Create or start a macOS VM with Lume
- Verify the user account in the terminal within the VM
- Install the Hermes Agent inside the VM
- Configure the LLM provider and model
- Verify operation using the `hermes` command
It is important not to confuse the installation location of the Hermes Agent between the host Mac and the VM. We will proceed on the assumption that the Hermes Agent is installed inside the VM.
Prerequisites
The host Mac is assumed to be an Apple Silicon Mac. Since Lume uses Apple’s virtualization features to create and run macOS VMs, the procedure may differ on Intel Macs or older versions of macOS.
- Host Environment: Apple Silicon Mac
- Virtual Environment: macOS VM launched in Lume
- User in the VM: A regular user with administrator privileges
- Network: Access to GitHub, Homebrew, and Python packages
- Model Connection: Any LLM provider, such as OpenRouter
Please ensure you have sufficient disk space. In addition to the macOS VM itself, you will need space for the Hermes Agent repository, the Python virtual environment, and dependency packages. If you create a VM that is too small, you are likely to run out of space during the process.
Installing Lume
First, install the Lume CLI on the host Mac. The official documentation provides the following installation script.
/bin/bash -c "$(curl -fsSL https://raw.githubusercontent.com/trycua/cua/main/libs/lume/scripts/install.sh)"After installation, verify that the `lume` command is available. These steps are performed on the host Mac.
lume --helpIf you prefer to install without the background service, you can use the `–no-background-service` option mentioned in the official documentation. While the standard installation is usually sufficient, this is a viable option for testing environments where you want to minimize the number of resident processes.
/bin/bash -c "$(curl -fsSL https://raw.githubusercontent.com/trycua/cua/main/libs/lume/scripts/install.sh)" -- --no-background-serviceCreating and Starting a macOS VM
Once Lume is ready, start the macOS VM. The Cua documentation recommends pre-built images such as `macos-sequoia-cua:latest`. If you want to try it out quickly, using an existing image is the easiest option.
lume run macos-sequoia-cua:latestDepending on your environment, the initial boot may take some time due to image downloads and initial setup. Since the download is large, please ensure you have a stable network connection.
If you have already created a Lume VM, start that VM and log in. The subsequent Hermes Agent installation will be performed in the terminal within the VM.
Verifying the environment within the VM
Once you’ve opened the terminal inside the VM, first verify that you’re working within the VM environment. Since the interface looks similar to your host Mac, it’s safest to check your username and home directory before proceeding.
whoami
pwd
uname -a
If `pwd` shows `/Users/username`, that is the natural installation location for the user. Hermes Agent settings and data are created in the `~/.hermes/` directory under the VM user’s home directory.
Even on a VM that doesn’t yet have Homebrew or Git installed, proceed with the Hermes Agent installer while verifying the necessary dependencies. However, since the VM’s network may be unstable, causing the process to stall while fetching dependencies, make sure to verify your internet connection first.
curl -I https://github.comInstalling Hermes Agent
Run the Hermes Agent installer in the terminal within the VM. This is the one-liner for installing Git as described in the official documentation.
curl -fsSL https://raw.githubusercontent.com/NousResearch/hermes-agent/main/scripts/install.sh | bashThe installer prepares the Python runtime environment, dependency packages, Node.js, auxiliary tools, and the Hermes Agent itself in that order. Depending on the state of the VM, it will check for or install uv, Python 3.11, Git, Node.js, ripgrep, ffmpeg, and other components.
The installation directory is `~/.hermes/hermes-agent/`, and the command to launch it is `~/.local/bin/hermes`. You don’t need to understand the installer’s specific branching logic, but knowing where it was installed will make it easier to check settings and diagnostic results later.
→ Installing to /Users/lume/.hermes/hermes-agent...
✓ Repository ready
✓ Virtual environment ready (Python 3.11)
✓ Main package installed
✓ Installed hermes launcher → ~/.local/bin/hermes
The first time, Homebrew updates and package downloads will run, so please wait a few minutes. Even if it appears to have stopped, downloads or extraction may still be in progress.
Updating the PATH
Depending on your environment, you may receive a warning that `~/.local/bin` is not in your PATH. Since the Hermes Agent launcher is placed in `~/.local/bin/hermes`, you won’t be able to run the `hermes` command directly if this directory isn’t included in your PATH.
warning: `/Users/lume/.local/bin` is not on your PATH.The installer adds PATH settings to `~/.zshrc`, `~/.zprofile`, and `~/.profile`. Open a new terminal or reload the settings in your current shell.
source ~/.zshrc
which hermes
hermes --help
If you get a `hermes: command not found` error, check that the PATH has been updated. If `~/.local/bin` is not included in `echo $PATH`, add it as follows.
echo 'export PATH="$HOME/.local/bin:$PATH"' >> ~/.zshrc
source ~/.zshrc
Initial Setup
After installation, the setup wizard will launch. Here, you’ll select the LLM provider, model, terminal backend, and basic settings. You can redo this later with `hermes setup`, so there’s no need to get everything perfect on the first try.
LLM Provider
The Hermes Agent sends API requests to the configured LLM provider to generate responses. If using OpenRouter, enter your OpenRouter API key. You can select `openrouter/owl-alpha` as an example model.
No OpenRouter API key configured.
OPENROUTER_API_KEY (or Enter to cancel):
API key saved.

Default model set to: openrouter/owl-alpha (via OpenRouter)
`openrouter/owl-alpha` is a configuration example and is not required. You can choose from other models on OpenRouter, the OpenAI API, the Anthropic API, Google-based models, or a local Ollama instance, depending on your use case. It’s practical to decide based on cost, speed, context length, and the model’s strengths and weaknesses for your specific tasks.
If you want to change the model, reconfigure it using the following command. It is safest to follow the same procedure when replacing the API key.
hermes setup modelTerminal Backend
The terminal backend setting determines where the Hermes Agent executes commands and code. If you are using the Lume VM itself as an isolated environment for testing, it is easier to understand if you start by leaving it set to `local`.
Keeping current backend: local`local` means execution takes place within the local environment of the VM. Since this configuration targets files and commands within the Lume VM rather than the host Mac, it is an easy-to-manage choice for testing purposes.
Post-Installation Verification
Once setup is complete, verify the configuration files and command execution. The main Hermes Agent files are located under `~/.hermes/`.
ls -la ~/.hermes
hermes config
hermes doctor
`hermes doctor` is a diagnostic command that checks available features and missing configurations. Immediately after installation, features that require an API key may be listed as unconfigured. First, prioritize verifying that chat and terminal execution work.
For the first run, start with light tasks like environment checks rather than complex file operations. You can verify model connections, TUI, input, output, and session saving all at once.
hermesAfter launching, issue a request such as, “Please check the Python and Node.js versions in this environment.” It is safer to verify the execution environment and permissions first before expanding operations, rather than immediately entrusting the system with editing entire repositories or running long-running automations.
Location of Configuration Files
Hermes Agent settings and data are stored in `~/.hermes/` within the VM. Since this data is deleted when the Lume VM is deleted, treat it as a backup target if you plan to continue using it.
| Path | Role | Handling |
|---|---|---|
| ~/.hermes/config.yaml | Settings for models, terminals, compression, etc. | Check when changing settings |
| ~/.hermes/.env | Environment variables such as API keys | Do not share or publish |
| ~/.hermes/SOUL.md | Adjusting agent behavior | Edit to suit your preferences |
| ~/.hermes/skills/ | Skill storage location | Items to add or edit |
| ~/.hermes/sessions/ | Conversation and execution logs | Backup candidates |
| ~/.hermes/logs/ | Logs | Check in case of trouble |
Note that API keys are stored in `.env`. Do not include them when sharing command output, screenshots, or VM images. Even on test VMs, you must remove or reissue the keys before sharing.
Commonly Used Commands
The following are the commands you’ll use most often after installation. To start with, it’s sufficient to master just the three main categories: startup, configuration, and diagnostics.
| Purpose | Command | When to Use |
|---|---|---|
| Start Chat | hermes | Start a normal conversation |
| General Settings | hermes setup | Reset Setup |
| Model Settings | hermes setup model | Change LLM provider or model |
| Diagnostics | hermes doctor | Check for Missing Tools or Settings |
| View Settings | hermes config | Check Current Settings |
| Edit settings | hermes config edit | Edit config.yaml |
| Gateway Settings | hermes setup gateway | Telegram and Discord Integration |
| Start the gateway | hermes gateway | Using via Messaging |
If you plan to use AI agents for testing WordPress or your development environment, it’s safest to start by testing them in a small working directory within a VM. If you want to extend this to managing WordPress posts, the procedure for connecting the WordPress MCP to Codex using AI Engine is also a useful reference in this context.
Related: Simple Steps to Connect WordPress MCP to Codex via AI Engine
Troubleshooting
If the `lume` command cannot be found
If you cannot find `lume` on your host Mac, the Lume installation may not be complete, or the PATH may not have been updated. Try opening a new Terminal window and check again.
which lume
lume --help
If you cannot connect to the network within the VM
Installing the Hermes Agent requires a connection to GitHub or Python package repositories. If you cannot access the internet from within the VM, check your network settings first.
curl -I https://github.com
curl -I https://raw.githubusercontent.com
If you can connect on the host Mac but fail within the VM, check the VM’s network settings and DNS. On corporate or school networks, proxies or filters may block script retrieval.
If the `hermes` command cannot be found
If `hermes` cannot be found, assume that the PATH has not been updated rather than assuming the installation failed. Run the following command inside the VM.
source ~/.zshrc
which hermes
echo $PATH
If `~/.local/bin` is not included in your PATH, add the following line. If the same line already exists, there is no need to duplicate it; simply adjusting the existing PATH settings is sufficient.
echo 'export PATH="$HOME/.local/bin:$PATH"' >> ~/.zshrc
source ~/.zshrc
If the API key is not set
If a warning about an unset API key appears when starting the chat, reconfigure the LLM provider settings. Even when using providers other than OpenRouter, it is safest to start by running `hermes setup model` interactively.
hermes setup modelIf editing manually, add the key to `~/.hermes/.env`. However, be careful with permissions and sharing. Ensure that you never include the key in command output or screenshots.
If Homebrew’s automatic updates take a long time
Homebrew’s automatic updates may run before auxiliary tools are installed. Since the initial VM setup involves downloading Ruby and Bottles, please wait for several minutes.
Even if it appears to have stopped, network transfers or extraction processes may still be ongoing. Before closing the terminal, check CPU and network activity, as well as Homebrew’s output.
Criteria for using Lume VMs
The advantage of installing the Hermes Agent on a Lume VM rather than the host Mac is that it makes it easier to confine the AI agent’s execution to within the VM. While tools involving file operations or terminal commands are convenient, you can verify their behavior in an isolated environment before allowing them to directly access your everyday home directory.
- Testing: Install in Lume VM to verify operation
- Daily Use: Choose between the host Mac or a dedicated VM based on the task
- WordPress Testing: Create a working directory within the VM and restrict permissions
- Long-term operation: Add a backup plan for `~/.hermes/`
The value of an isolated environment increases as the scope of tasks delegated to the AI agent expands. A solid approach is to start small with Lume VM, and if no issues arise, gradually expand permissions and working directories on a per-project basis.
FAQ
Is Hermes Agent free?
The Hermes Agent itself is available as open source. However, if you use external LLM providers such as OpenRouter, OpenAI, or Anthropic, separate API usage fees will apply. While using local models like Ollama can reduce API costs, it places a load on the VM’s CPU, memory, and disk.
How does this differ from installing it directly on the host Mac?
The installation process for Hermes Agent itself does not change significantly. The main differences lie in the scope of files accessible to the AI agent and the boundaries of the environment that can be safely compromised. With a Lume VM, it is easier to rebuild for testing purposes, and you can keep it separate from your host Mac’s everyday data.
Will the Hermes Agent settings be deleted if I delete the Lume VM?
If you have the Hermes Agent installed within a VM, deleting the VM will also delete the settings, sessions, and logs located under `~/.hermes/`. If you plan to continue using it, please consider backing up the VM or saving the contents of `~/.hermes/`.
Summary
The process for installing the Hermes Agent in a Lume macOS VM is as follows: install Lume on your host Mac, launch the macOS VM, and then run the Hermes Agent installer within that VM. Lume serves to provide an isolated macOS environment, while the Hermes Agent acts as the AI agent running within it.
Since this is a virtual environment, feel free to experiment and play around with it.
Comment