
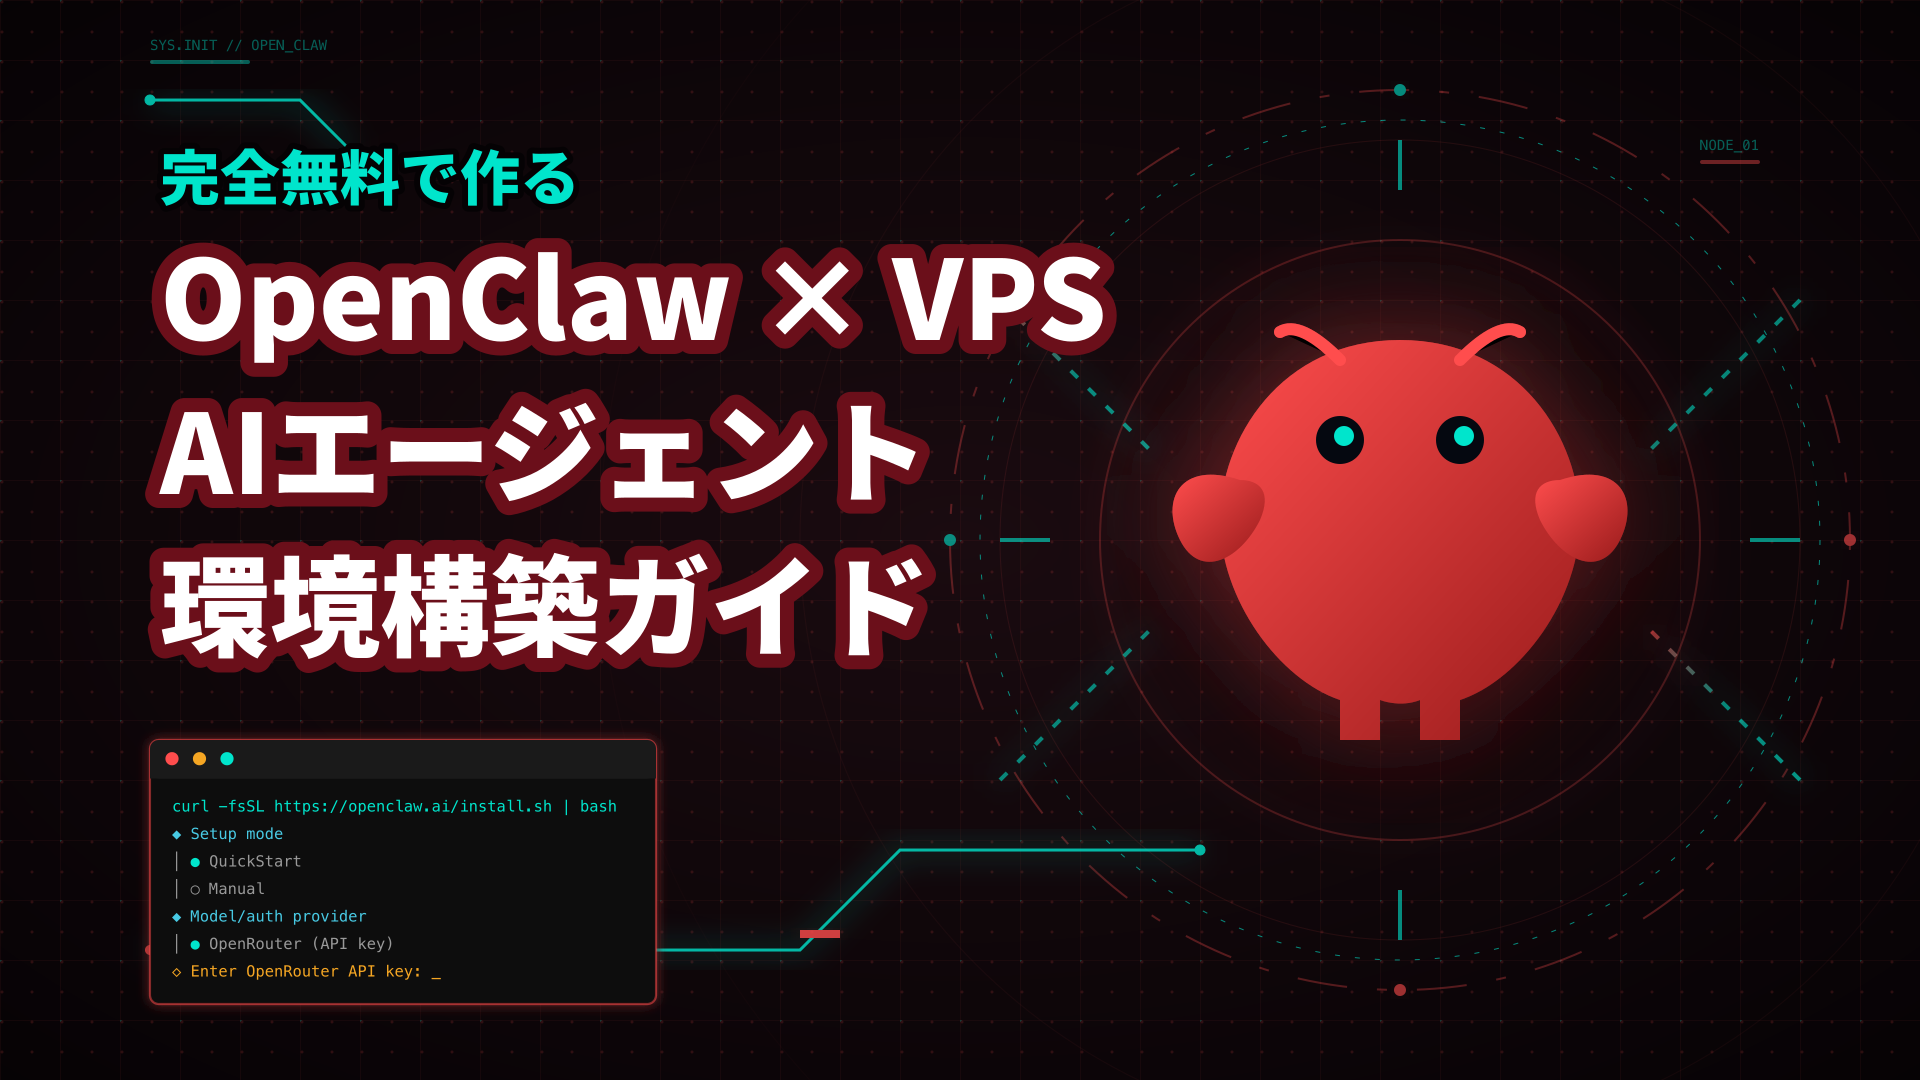
“I’d like to try running OpenClaw, but I’m concerned about security if I run it on my own PC.” “I’d prefer to try it out without spending any money.”—For those of you who feel this way, I’ve put together a step-by-step guide on how to set up OpenClaw completely free of charge using only the free plan from XServer VPS and the free model of OpenRouter.
This guide is based on the steps I personally followed to set up this configuration and verify its operation. I’ve included notes on common pitfalls and areas that aren’t clearly explained in the official documentation, so even those new to VPS should be able to follow along.
- The Environment Built in This Article and the Conditions for “Completely Free”
- What you’ll need to prepare
- Signing up for the XServer VPS Free Plan and Creating a Server
- SSH Connection to the VPS and Initial Setup
- Installing OpenClaw
- OpenRouter Free Plan and Limits
- Functionality Testing and Dashboard
- Topics Not Covered in This Article
- Common Pitfalls and Solutions
- Limitations of Free Plans and Criteria for Upgrading to a Paid VPS
- List of frequently used OpenClaw commands
- Frequently Asked Questions
- Summary
The Environment Built in This Article and the Conditions for “Completely Free”
First, let’s clarify the definition of “completely free.” The environment we’ll build in this article consists of the following three free components:
- VPS: XServer VPS Free Plan (2GB or 4GB RAM)
- LLM Provider: OpenRouter’s free model (
openrouter/free) - OpenClaw itself: Open source (free)
However, the free plans come with limitations. While the XServer VPS free plan offers a choice between 2GB and 4GB of RAM, the 2GB plan requires manual renewal via the control panel every 4 days, and the 4GB plan requires renewal every 2 days. Please be careful, as forgetting to renew will prevent you from continuing to use the server. Additionally, the free VPS is not covered by support. OpenRouter’s free models also have rate limits per minute and per day.
If you can accept these limitations, you can set up an environment to run OpenClaw continuously with zero initial or monthly costs.
What you’ll need to prepare
- XServer account (created via the official XServer VPS website)
- OpenRouter account (sign up for free at openrouter.ai)
- Terminal (Mac’s standard Terminal.app; for Windows, use PowerShell or Tera Term)
Signing up for the XServer VPS Free Plan and Creating a Server
Signing Up for the Free VPS
Go to the XServer VPS free plan sign-up page and create an account. If you already have an XServer account, simply log in.
When selecting the OS during server creation, choose Ubuntu 24.04. While you can select “OpenClaw” from the app images, we will proceed with the manual installation on a bare-bones Ubuntu system. This is because the manual method makes it easier to understand the underlying mechanisms and troubleshoot issues.
Set a strong root password. You can use your browser’s password generator or generate one using the following command:
openssl rand -base64 32 | tr -d "= /" | cut -c1-16Packet Filter Settings
After creating the server, open the packet filter settings from the XServer management panel.
- Open VPS Management → Packet Filter Settings
- Click “Add”
- Add SSH (TCP 22 / Allow All)
Please make a note of your VPS IP address at this point. You will need it for the SSH connection.
SSH Connection to the VPS and Initial Setup
Generating SSH Keys and Connection Settings
Generate an SSH key on your local machine and register the public key in the XServer control panel.
# SSH鍵の生成
ssh-keygen -t ed25519 -C "openclaw@xserver-vps" -f ~/.ssh/openclaw -N ""

# 公開鍵の内容を確認(これをXServer管理画面に登録)
cat ~/.ssh/openclaw.pub
This command creates an SSH key pair for OpenClaw on your local PC. Keep the private key on your own PC and register only the public key in the XServer VPS management console.
| Specify | Meaning |
|---|---|
ssh-keygen | This command generates the key pair used for SSH connections. |
-t ed25519 | Specifies the key type as Ed25519. This is a short, easy-to-use format that is commonly used today. |
-C "openclaw@xserver-vps" | A comment to attach to the key. This does not affect the connection, but makes it easier to identify the key’s purpose later. |
-f ~/.ssh/openclaw | Specifies the location to save the private key. In this case, ~/.ssh/openclaw is the private key,~/.ssh/openclaw.pub is the public key. |
-N "" | Leave the private key passphrase blank. This simplifies the automated process, but please be careful when managing the private key on your PC. |
cat ~/.ssh/openclaw.pub | Display the contents of the public key. Copy the single line displayed and paste it into the public key registration field on your XServer VPS. |
Next, ~/.ssh/config Add the connection settings toHostname Enter the IP address you noted earlier into the field.
Host xserver-vps
  Hostname 000.000.000.000
  User root
  IdentityFile ~/.ssh/openclaw
~/.ssh/config If you save the settings here, you can connect ssh xserver-vps .
| Item | Meaning |
|---|---|
Host xserver-vps | Connection name. You can enter ssh xserver-vps . |
Hostname 000.000.000.000 | The IP address of the VPS you are connecting to. Replace this with the actual IP address. |
User root | The username for logging in. By default, XServer VPS uses “root” for connection. |
IdentityFile ~/.ssh/openclaw | The private key file used for the connection. Specify the private key -f . |
First Login and Package Updates
# VPSに接続
ssh xserver-vps
# fingerprint確認が出たら yes と入力

# パッケージを最新にする
sudo apt update && sudo apt upgrade -y
sudo reboot
After rebooting, wait about 30 seconds, then ssh xserver-vps to reconnect.
Installing OpenClaw
Running the Installation Script
Install OpenClaw using the official one-liner. Even if Node.js is not installed, the script will automatically set it up.
curl -fsSL https://openclaw.ai/install.sh | bashAs of April 24, 2026, some OpenClaw packages may experience dependency issues. If you encounter a missing module error during or immediately after installation, please remove the global installation and reinstall using a verified stable version.
npm uninstall -g openclaw
npm install -g [email protected]
Setup Wizard Configuration
Once the installation is complete, an interactive setup wizard will begin. For this guide, we configured the following settings.
| Configuration Options | Selection | Notes |
|---|---|---|
| Security Agreement | Yes | Consent for Personal Use |
| Setup mode | QuickStart | Can be changed openclaw configure Can be changed later |
| Model/Auth Provider | OpenRouter (API key) | To use the free model |
| Default model | openrouter/free | Configuration to use only the free model.auto Do not select this. |
| Channel | Skip / Configure later | Since Discord integration is covered in the Note version, we won’t configure it in this article. |
| Search provider | Skip / None | Ollama Web Search is covered in the Note version, so we won’t set it up in this article. |
| Skills | No (Skip) | Can be added later |
| Hooks | Skip for now | Can be configured later |
You will be prompted to enter your OpenRouter API key, so be sure to generate one in advance on the OpenRouter API key management page. This article does not cover setting up Discord Bot tokens or Ollama Web Search.
OpenRouter Free Plan and Limits
There are two main ways to use free models with OpenRouter.
openrouter/free: OpenRouter automatically selects an available free model. This is convenient, but the model used may vary depending on the time.- Prepend “
:free” to the model name: For example,google/gemini-2.0-flash-exp:freespecifying the free variant of a specific model
In this setup, openrouter/free . If you don’t have a preference for a specific model, this setting is the easiest.
Note: In OpenRouter or OpenClaw settings, auto(openrouter/auto / In OpenClaw, openrouter/openrouter/auto), you may be automatically routed to paid models as well as free ones. If you want to try it completely free of charge,openrouter/free or select a free model with :free .
According to the official OpenRouter Limits, as of April 24, 2026, free models have the following restrictions:
| Account Status | Maximum per minute | Daily Limit |
|---|---|---|
| Less than $10 in purchased credits | 20 requests/minute | 50 requests/day |
| $10 or more in purchased credits | 20 requests/minute | 1,000 requests per day |
In other words, if you remain on the completely free plan, you are limited to 50 requests per day. If you add $10 or more in credit to OpenRouter, the daily limit for the free plan increases to 1,000 requests. However, this only increases the limit for the free plan; if you select a paid plan, your credit will be consumed as usual. Creating additional API keys or separate accounts will not bypass the free plan’s limits.
Additionally, the popular free plan may be unavailable depending on the provider’s server load. Since requests that reach the limit or failed attempts may count toward the daily limit, tools like OpenClaw that generate consecutive requests in a short period may stop responding midway if you rely solely on the free plan.
Functionality Testing and Dashboard
Checking the Gateway Status
OpenClaw operates through a background service called Gateway. First, verify that it is running properly.
openclaw gateway statusIf it displays “running,” it’s OK. If it’s stopped, openclaw gateway restart you can restart it.
Checking the Dashboard URL and Token
OpenClaw provides a browser-based dashboard (Control UI). You can check the dashboard URL and token using the following command.
openclaw dashboardThis article will focus solely on verifying the dashboard URL and token. Since securely accessing the dashboard on a VPS from a local browser requires explanations of SSH port forwarding and Tailscale, I will cover this in detail in the paid version of this note.
Verification via TUI (Text UI)
Instead of using the dashboard, you can also verify operation using the TUI in an SSH terminal.
openclaw tuiThe TUI allows you to send and receive messages and check the status. First, try entering something like “Hello” here to confirm that a response is returned.
Topics Not Covered in This Article
The following topics involve lengthy procedures, so this article omits the preparation and setup steps.
- Discord Integration: Creating a bot, issuing tokens, and configuring channel permissions are explained in the Note version
- Ollama Web Search: Preparation and configuration of search providers are explained in the Note version
- Settings for Japanese Responses:
SOUL.mdAdjustment procedures are explained in the Note version - Secure External Access to the Dashboard: SSH port forwarding and Tailscale are explained in the paid version of the note
Common Pitfalls and Solutions
If you don’t receive a response from OpenRouter
If you don’t receive a response when sending a message immediately after setup,models.json this is often due to the API endpoint settings.
vi ~/.openclaw/agents/main/agent/models.jsonPlease check the OpenRouter-related baseUrl in the file.
// 修正前(動かない場合がある)
"baseUrl": "https://openrouter.ai/v1"

// 修正後(/api を追加)
"baseUrl": "https://openrouter.ai/api/v1"
After making the changes, openclaw gateway restart restart the service.
Errors caused by package corruption
The following error may occur immediately after installation.
Error: Cannot find module '@larksuiteoapi/node-sdk'This occurs when the OpenClaw package is corrupted. As of April 24, 2026, you can work around this by reinstalling and specifying the stable version as shown below.
npm uninstall -g openclaw
npm install -g [email protected]
The version number is current as of this writing. Please check the OpenClaw page on npm for the latest stable version.
Limitations of Free Plans and Criteria for Upgrading to a Paid VPS
While it is entirely possible to run OpenClaw on the XServer VPS free plan, you should consider migrating to a paid VPS in the following situations:
- Manual renewals every 4 days for the 2GB plan and every 2 days for the 4GB plan have become a hassle
- You frequently hit the rate limits of the free plan
- You’ve added multiple Skills and are running out of memory
- Stable operation has become necessary for business purposes
If you decide to switch to a paid plan, the XServer VPS 2GB plan starts at 830 yen per month (with a 36-month contract), eliminating the hassle of manual renewals. ConoHa VPS and Sakura VPS are also viable options. We recommend trying the free plan first to see if it suits your needs before making a decision.

List of frequently used OpenClaw commands
| Command | Purpose |
|---|---|
openclaw gateway status | Check the Gateway’s operational status |
openclaw gateway restart | Restart the Gateway |
openclaw dashboard | Display the dashboard URL and token |
openclaw tui | Launch the terminal UI |
openclaw doctor | Diagnose environment issues |
openclaw configure | Change settings interactively |
openclaw onboard --install-daemon | Reinstall as a daemon |
Frequently Asked Questions
- Why is the XServer VPS free plan free?
It is a trial plan provided by XServer, designed to serve as a gateway to paid plans. There are almost no functional restrictions, but the 2GB plan must be manually renewed via the control panel every 4 days, and the 4GB plan every 2 days.
- How much is the monthly fee for OpenClaw?
OpenClaw itself is open-source and free. The only costs are the VPS (server) usage fee and the LLM API fees. In this configuration, we are using the XServer VPS free plan and the OpenRouter free model, so you can try it for 0 yen per month. However, if you use paid models (such as Claude or GPT-4o), you will be charged based on your API usage.
- Where is the best place to run OpenClaw?
From a security perspective, running it on your main PC is not recommended. It is safer to run it in an isolated environment, such as a VPS or virtual machine. An external server like the XServer VPS introduced in this article is the most convenient option.
Summary
By combining the XServer VPS free plan, the OpenRouter free model, and the open-source OpenClaw, you can build a 24/7 AI agent environment completely free of charge.
The steps are summarized as follows.
- Create a free server on XServer VPS (Ubuntu 24.04 / 2GB or 4GB RAM)
- Connect via SSH and update packages
- Install OpenClaw with a one-liner
- Configure the OpenRouter API key and free model
- Verify that the gateway is running and test functionality via the TUI
While the update frequency of the free plan and the rate limits of the OpenRouter free model are points of concern, they are sufficient for the purpose of “trying out what OpenClaw is like.” Start by trying it out for free, and if you decide you want to use it seriously, consider migrating to a paid VPS or a paid model.



Comment